Starlink Gen 3 Setup Kenya – Complete Installation & WiFi Guide
Starlink Gen 3 setup is the process of installing, connecting, configuring and testing a Starlink Gen 3 system so that it can provide internet and WiFi connectivity to your home, office, business or other property. A correct setup helps ensure that the Starlink dish, router, cables and network equipment are properly connected and configured.
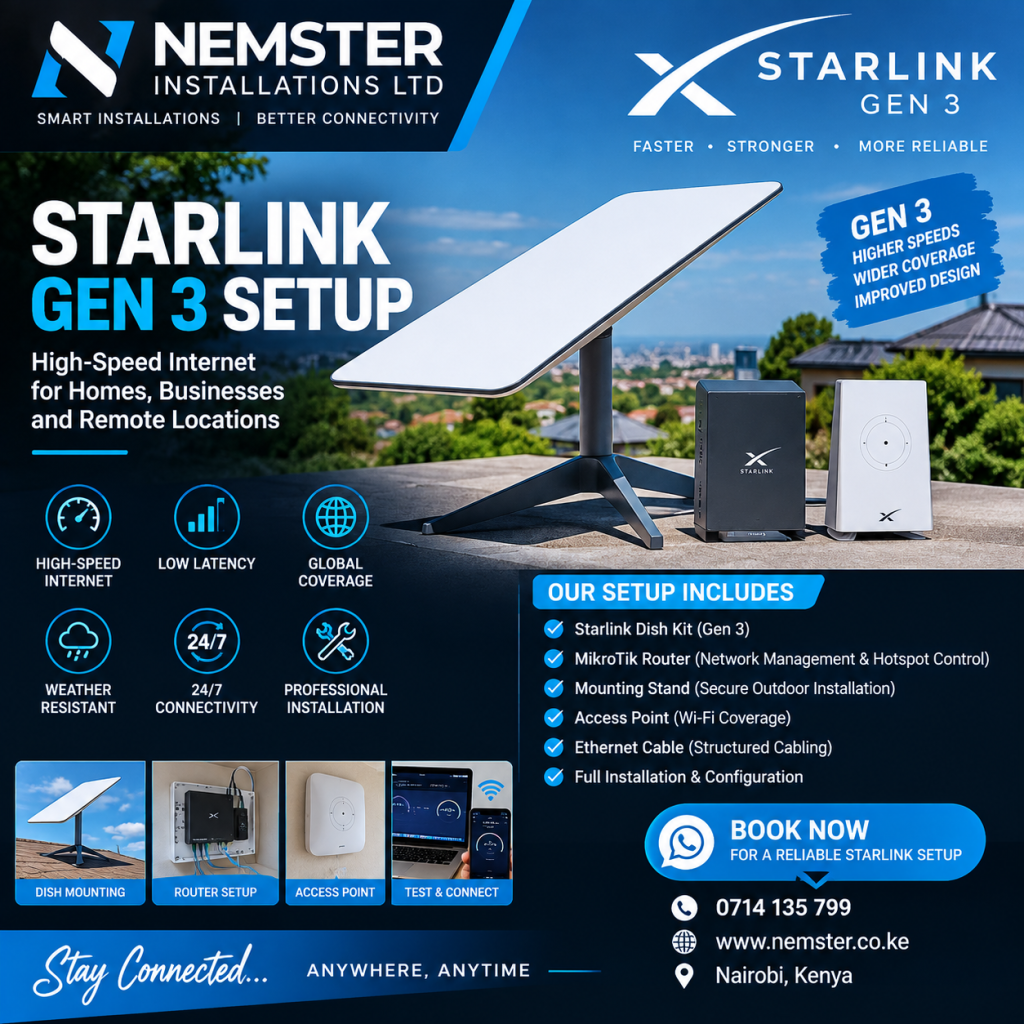
If you are looking for Starlink Gen 3 setup in Kenya, Nemster provides Starlink installation, router configuration, WiFi setup, networking and WiFi extension services.
Call or WhatsApp Nemster: 0714135799
What Is Starlink Gen 3 Setup?
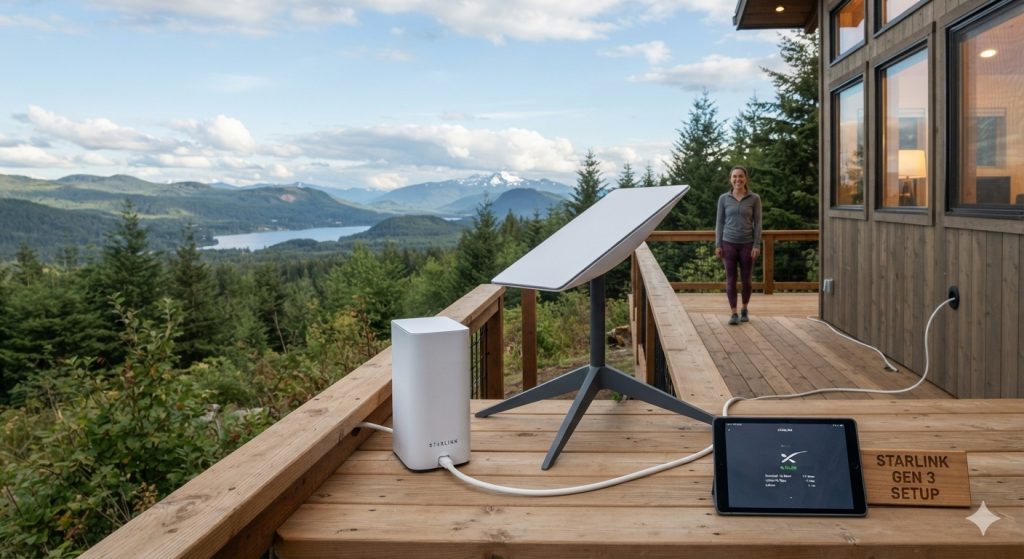
A Starlink Gen 3 setup involves several important steps. The satellite dish needs to be positioned correctly, the cable needs to be connected to the router, the router needs power, and the Starlink service needs to be activated and configured.
A typical setup includes:
- Starlink Gen 3 dish
- Starlink Gen 3 router
- Starlink cable
- Power equipment
- Suitable mounting
- Starlink mobile app
- WiFi configuration
- Internet testing
The exact equipment included can depend on the Starlink package purchased.
Starlink Gen 3 Setup in Kenya
Starlink Gen 3 can be used for internet connectivity in homes, offices, shops, farms, businesses and remote properties in Kenya where Starlink service is available.
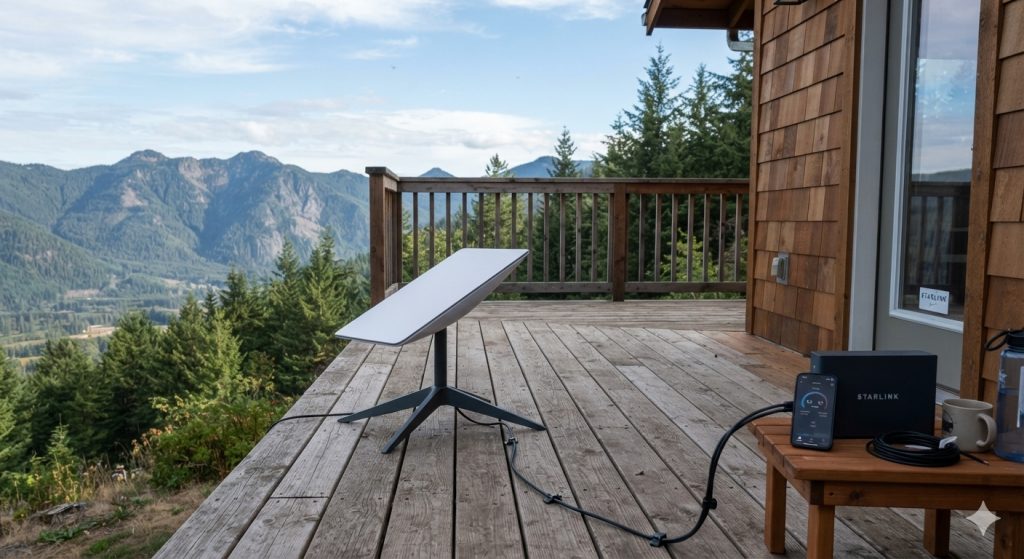
Before starting the installation, select a suitable location for the dish. The dish requires a suitable view of the sky to communicate with Starlink satellites.
Buildings, trees, poles and other obstructions can interfere with the satellite connection.
For a permanent installation, the dish should also be securely mounted and the cable routed safely into the building.
How to Set Up Starlink Gen 3
1. Choose the Dish Location
Start by finding a suitable location for the Starlink dish.
The location should have as few obstructions as possible. A roof, pole or other elevated position may be suitable depending on the property.
Avoid locations surrounded by tall buildings or trees.
2. Install the Mount
Install the appropriate mounting solution according to the property and the type of installation.
Possible mounting options include:
- Roof mount
- Wall mount
- Pole mount
- Ground mount
- Other compatible mounting solutions
Make sure the mounting system is stable and suitable for the installation environment.
3. Position the Starlink Dish
Place the Starlink Gen 3 dish on its mount and position it according to the installation requirements.
The dish needs access to the sky for reliable satellite communication.
4. Connect the Starlink Cable
Connect the Starlink cable between the dish and the Starlink router.
Make sure the connectors are properly seated and protected from unnecessary strain.
For permanent installations, route the cable neatly and avoid sharp bends or areas where the cable could easily be damaged.
5. Connect the Router to Power
Connect the Starlink router and power equipment according to the supplied equipment instructions.
The router should power up and begin communicating with the Starlink system.
6. Use the Starlink App
The Starlink app can be used to manage and check the system.
Depending on the available features, the app can help with:
- Initial setup
- Connection status
- Obstruction checks
- WiFi configuration
- Network information
- Troubleshooting
7. Configure the WiFi
Once the Starlink router is working, configure your WiFi network.
Choose a suitable WiFi name and password.
A strong password helps prevent unauthorized users from connecting to your network.
8. Test the Internet
Connect a phone, laptop or other device to the Starlink WiFi and test the internet connection.
You can check whether websites load correctly and use the Starlink app to view the connection status.
Starlink Gen 3 WiFi Setup
The Starlink Gen 3 WiFi setup allows phones, computers, smart TVs, CCTV systems and other compatible devices to connect to the internet.
For a small home, the Starlink router may provide sufficient coverage depending on the building layout.
For larger properties, additional networking equipment may be required.
Nemster can install WiFi access points, Ethernet cabling, switches and other networking equipment to extend Starlink connectivity.
Starlink Gen 3 Setup for Large Homes
Large homes can have WiFi dead zones caused by:
- Thick walls
- Multiple floors
- Long distances
- Concrete structures
- Metal structures
- Poor router positioning
Instead of simply adding another router, a properly designed WiFi network can use access points positioned in suitable locations.
This can provide better coverage throughout the property.
Starlink Gen 3 Setup for Offices
A business Starlink setup may require more than the standard router.
Depending on the number of users and network requirements, an office may need:
- Starlink Gen 3
- Router
- Network switch
- Access points
- Ethernet cables
- CCTV networking
- Guest WiFi
- Staff WiFi
- Network management
Nemster can help design and install the network around the Starlink connection.
Starlink Gen 3 Setup for CCTV
Starlink Gen 3 can be used as the internet connection for compatible CCTV systems.
A CCTV network can be connected using Ethernet or appropriate networking equipment.
For larger installations, a network switch and dedicated access points may be required.
Correct network configuration is important if cameras need remote access.
Starlink Gen 3 Setup Problems
Sometimes a new installation may not immediately provide internet access.
Common things to check include:
Power
Check that the Starlink equipment is receiving power.
Cable Connections
Check that the cables between the dish, router and power equipment are correctly connected.
Obstructions
Trees, buildings and other objects can affect the dish’s satellite view.
WiFi
If the Starlink system is online but your phone cannot connect, check the WiFi settings and password.
Account or Service
The Starlink account and service status should also be checked if the equipment is connected but internet access is unavailable.
Network Equipment
If additional routers, switches or access points are being used, incorrect network configuration can cause connectivity problems.
Starlink Gen 3 Setup Cost in Kenya
The cost of a Starlink Gen 3 setup in Kenya depends on the requirements of the installation.
Factors that can affect the cost include:
- Installation location
- Mounting type
- Building height
- Cable length
- Roof access
- Wall mounting requirements
- Number of access points
- Network switches
- WiFi extension
- Additional networking equipment
For a simple installation, fewer components may be required. Larger homes, offices and businesses may require a more advanced network.
Contact Nemster for a quotation based on your location and requirements.
Call or WhatsApp: 0714135799
Professional Starlink Gen 3 Setup
Professional setup can help ensure that the dish is properly positioned, mounted securely and connected correctly.
Nemster provides:
- Starlink Gen 3 installation
- Starlink Gen 3 setup
- Dish mounting
- Cable installation
- Router configuration
- WiFi setup
- WiFi extension
- Network cabling
- Access point installation
- CCTV networking
- MikroTik networking
- Troubleshooting
Starlink Gen 3 Setup Nairobi
If you need Starlink Gen 3 setup in Nairobi, Nemster can assist with residential and commercial installations.
We provide Starlink installation and networking services in areas across Nairobi and surrounding locations.
Whether you need a basic home setup or a larger business network, the installation can be planned according to the property.
Contact Nemster: 0714135799
Starlink Gen 3 Setup Frequently Asked Questions
How do I set up Starlink Gen 3?
Starlink Gen 3 setup involves positioning the dish, installing the mount, connecting the dish to the router, connecting the system to power, configuring WiFi and testing the internet connection.
Do I need the Starlink app for setup?
The Starlink app is useful for setting up and managing the Starlink system, including checking connection information and potential obstructions.
Where should I place my Starlink Gen 3 dish?
Choose a location with a suitable view of the sky and minimal obstructions such as trees and buildings.
Can I install Starlink Gen 3 on a roof?
Yes, a suitable mounting solution can be used for roof installations. The mounting method should match the roof and installation conditions.
Can Starlink Gen 3 WiFi cover a whole house?
Coverage depends on the size and construction of the building. Large homes may require additional WiFi access points.
Can Starlink Gen 3 be connected to a MikroTik router?
Yes, Starlink can be incorporated into a network using additional routers and networking equipment, depending on the network design.
Can Starlink Gen 3 support CCTV?
Yes, Starlink can provide internet connectivity for CCTV systems when the network and camera equipment are configured correctly.
Why Choose Nemster for Starlink Gen 3 Setup?
Nemster provides Starlink installation and networking services for homes, offices and businesses.
Our services can cover the complete setup process, from dish mounting and cable routing to router configuration and WiFi extension.
We also provide other technical services including:
- Starlink installation
- CCTV installation
- WiFi extension
- Networking
- TV mounting
- Electrical installation
- Gate automation
Call or WhatsApp Nemster today: 0714135799
SEO Keywords
This page targets keywords such as:
Starlink Gen 3 setup, Starlink Gen 3 setup Kenya, Starlink Gen 3 installation, Starlink Gen 3 installation Kenya, Starlink Gen 3 WiFi setup, Starlink Gen 3 router setup, Starlink Gen 3 setup Nairobi, Starlink setup Kenya, Starlink Gen 3 installer Kenya, Starlink Gen 3 configuration, Starlink Gen 3 internet setup, Starlink Gen 3 dish setup, Starlink Gen 3 professional installation and Starlink Gen 3 WiFi installation.
Conclusion
A proper Starlink Gen 3 setup involves more than simply connecting the equipment. The dish needs a suitable location, the mounting needs to be secure, cables need to be installed correctly, the router needs to be configured and the internet connection should be tested.
For homes, offices and businesses that require additional coverage, Starlink Gen 3 can also be combined with WiFi access points, Ethernet cabling, switches and other networking equipment.
If you need Starlink Gen 3 setup in Kenya, contact Nemster for professional installation and networking services.
Nemster – Starlink, WiFi, Networking, CCTV & Electrical Installation
Call or WhatsApp: 0714135799