Starlink Gen 3 Roof Installation Kenya – Professional Roof Mounting
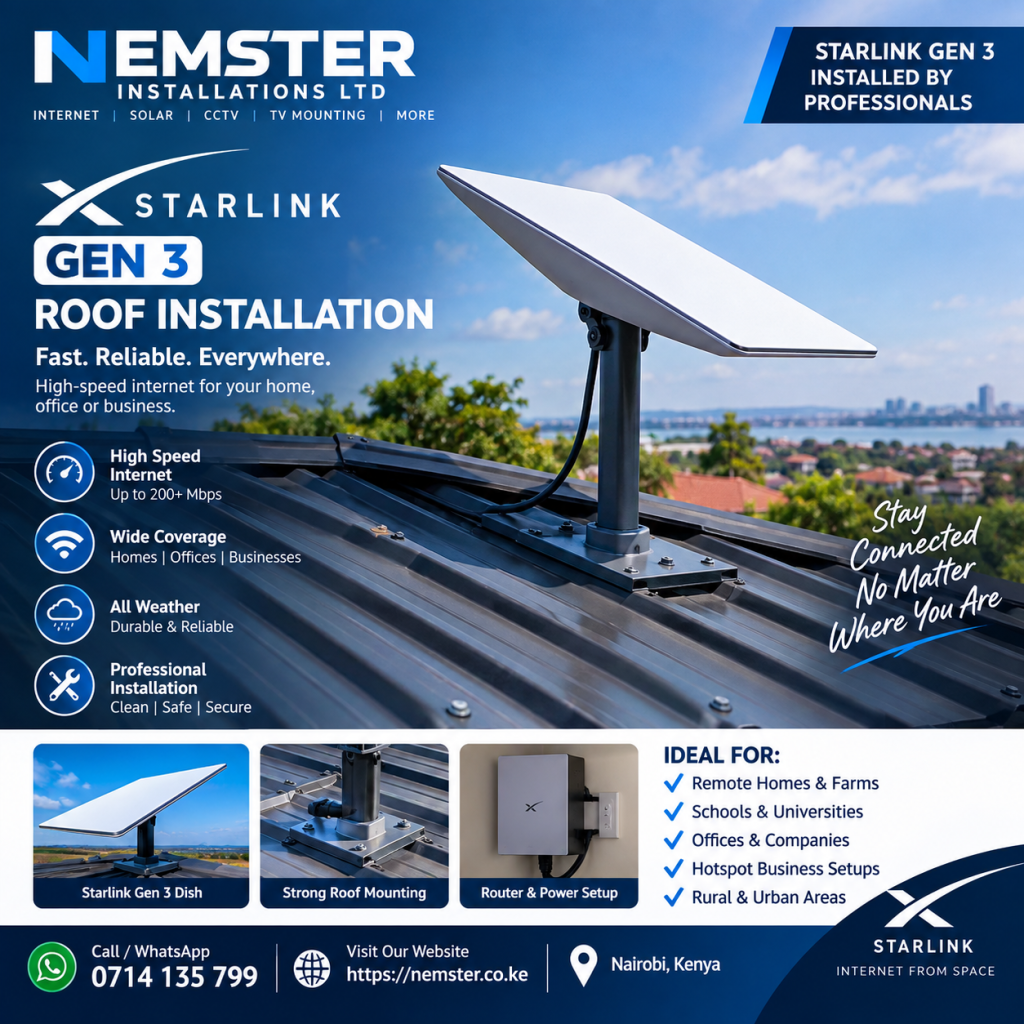
Looking for Starlink Gen 3 roof installation in Kenya? Nemster provides professional Starlink Gen 3 dish mounting, roof installation, cable routing, router setup, WiFi configuration and networking services for homes, offices and businesses.
Installing a Starlink Gen 3 dish on a roof requires careful planning. The installer needs to select a suitable position, use an appropriate mounting solution, route the cable safely and make sure the system is properly connected and tested.
Call or WhatsApp Nemster: 0714135799
What Is Starlink Gen 3 Roof Installation?
Starlink Gen 3 roof installation involves mounting the Starlink Gen 3 satellite dish on a suitable roof location to provide the dish with an appropriate view of the sky.
A roof installation can be useful when ground or wall locations are not suitable. Elevating the dish may also help reduce obstructions caused by nearby walls, trees and buildings.
The installation may include:
- Starlink Gen 3 dish
- Roof mounting system
- Mounting hardware
- Starlink cable
- Router
- Power equipment
- Cable routing
- WiFi configuration
- Internet testing
The exact equipment and mounting method depend on the property and Starlink kit.
Why Install Starlink Gen 3 on a Roof?
The roof can provide an elevated position for the Starlink dish.
Depending on the property, a roof installation can help provide a clearer view of the sky than a low-level installation.
Potential benefits include:
- Elevated dish position
- Reduced obstruction from walls
- Better use of limited ground space
- Cleaner installation
- Suitable location for some residential properties
- Suitable location for some commercial buildings
However, the roof is not automatically the best location for every property. The actual installation position should be selected based on the surroundings and the available view of the sky.
Starlink Gen 3 Roof Mounting Kenya
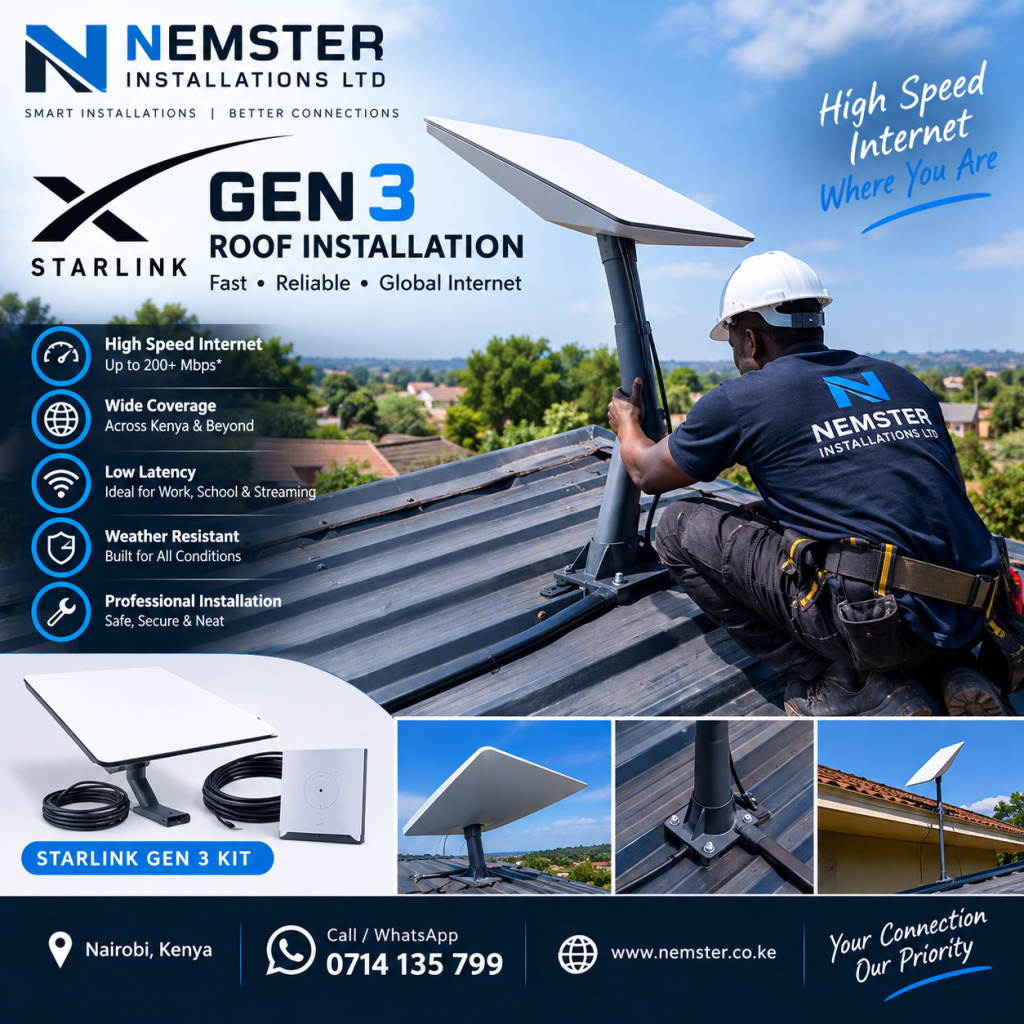
Choosing the right roof mounting solution is an important part of a professional installation.
The mounting method should be appropriate for the roof structure and installation conditions.
Depending on the property, the installer may need to consider:
- Roof type
- Roof angle
- Mounting surface
- Structural stability
- Dish position
- Cable route
- Weather exposure
- Access for maintenance
Nemster can assess the installation area and recommend a practical mounting approach.
Starlink Gen 3 Roof Installation Process
A professional Starlink Gen 3 roof installation can follow several steps.
1. Inspect the Roof
The installer first checks the roof and identifies suitable areas for mounting the dish.
The surrounding environment is also considered to identify possible obstructions.
2. Check the Sky View
The dish needs a suitable view of the sky.
Trees, buildings, walls and other objects can interfere with the satellite connection.
The Starlink app can be used to help identify potential obstructions.
3. Select the Mounting Position
Once the roof has been assessed, a suitable mounting location is selected.
The position should allow the dish to operate while also allowing the cable to reach the router.
4. Install the Mount
The appropriate mounting system is installed securely.
The exact installation method depends on the roof and the selected mounting hardware.
5. Install the Starlink Gen 3 Dish
The Starlink Gen 3 dish is positioned on the mounting system.
The installer checks that the dish is stable and appropriately positioned.
6. Route the Starlink Cable
The cable is routed from the dish to the location of the Starlink router.
Cable routing should be neat and should avoid unnecessary damage, sharp bends and excessive tension.
7. Connect the Router
The Starlink cable is connected to the router and the system is powered.
8. Configure the WiFi
The Starlink WiFi network can then be configured and connected to phones, computers, smart TVs and other devices.
9. Test the Connection
The installer checks the Starlink connection and connected devices to confirm that the system is operating correctly.
Starlink Gen 3 Roof Installation Nairobi
If you are searching for Starlink Gen 3 roof installation in Nairobi, Nemster provides Starlink installation and networking services for homes, offices and businesses.
We can assist with:
- Roof mounting
- Starlink Gen 3 installation
- Dish positioning
- Cable routing
- Router setup
- WiFi configuration
- WiFi extension
- Network cabling
- Access point installation
Nemster serves Nairobi and surrounding areas, subject to installation availability.
Call or WhatsApp: 0714135799
Starlink Gen 3 Roof Installation for Homes
Many homeowners choose roof installation when the roof provides a suitable location for the dish.
A home Starlink Gen 3 installation can provide internet connectivity for:
- Smartphones
- Laptops
- Desktop computers
- Smart TVs
- Tablets
- CCTV systems
- Gaming devices
- Smart home devices
For large homes, additional WiFi access points may be installed to extend coverage.
Starlink Gen 3 Roof Installation for Offices
Offices may require a more advanced Starlink network.
Nemster can install Starlink Gen 3 on a suitable roof and connect it to networking equipment such as:
- WiFi access points
- Network switches
- Ethernet cabling
- MikroTik routers
- CCTV systems
- Business networking equipment
This can help distribute the Starlink connection throughout the office.
Starlink Gen 3 Roof Installation for Businesses
Businesses with suitable roof space can use roof mounting as part of their Starlink installation.
The Starlink connection can be distributed to:
- Offices
- Shops
- Workshops
- Stores
- Apartments
- Guest areas
- CCTV systems
- Other networked devices
The network design depends on the size and requirements of the property.
Starlink Gen 3 Roof Cable Installation
Cable routing is an important part of roof installation.
The cable needs to travel from the dish to the router while remaining protected and neatly installed.
Nemster can help with:
- Roof cable routing
- Wall entry
- Internal cable routing
- Cable management
- Network cabling
- Ethernet installation
The final cable route depends on the building design and router location.
Starlink Gen 3 Roof Installation and WiFi Extension
Installing the Starlink dish on the roof does not automatically guarantee WiFi coverage throughout the entire property.
The Starlink router’s WiFi coverage depends on the size and construction of the building.
If some areas have weak WiFi, Nemster can install additional access points.
WiFi extension options can include:
- Indoor access points
- Outdoor access points
- Ethernet-connected access points
- Network switches
- Point-to-point wireless links
- MikroTik networking
Starlink Gen 3 Roof Installation and CCTV
Starlink Gen 3 can provide internet connectivity for compatible CCTV systems.
Nemster can install the Starlink dish on the roof and connect the network to CCTV equipment where required.
A CCTV network may include:
- Starlink Gen 3
- Router
- PoE switch
- NVR
- IP cameras
- Cat6 network cables
- WiFi access points
Proper network configuration is important for reliable camera connectivity.
Starlink Gen 3 Roof Installation Cost Kenya
The cost of Starlink Gen 3 roof installation in Kenya depends on the installation requirements.
Factors that may affect the cost include:
- Roof height
- Roof type
- Mounting method
- Cable length
- Cable routing
- Accessibility
- Installation location
- Additional networking equipment
- WiFi extension requirements
For an accurate quotation, contact Nemster and provide your location and installation requirements.
Call or WhatsApp: 0714135799
Professional Starlink Gen 3 Roof Installer Kenya
Choosing an experienced installer can help ensure that the dish is mounted securely and the cable and networking equipment are installed correctly.
Nemster provides:
- Starlink Gen 3 roof installation
- Starlink Gen 3 mounting
- Starlink Gen 3 setup
- Router configuration
- WiFi installation
- WiFi extension
- Network cabling
- CCTV networking
- Access point installation
- MikroTik configuration
Our goal is to provide a neat and functional installation based on the customer’s property and requirements.
Starlink Gen 3 Roof Installation Near Me
If you are searching for Starlink Gen 3 roof installation near me, Nemster provides installation services in Nairobi and surrounding areas.
We can assist customers in areas such as:
- Westlands
- Runda
- Gigiri
- Karen
- Lavington
- Kilimani
- Kitisuru
- Parklands
- Muthaiga
- Upper Hill
- Lang’ata
- South B
- South C
- Embakasi
- Kasarani
- Roysambu
- Ruiru
- Kiambu
- Thika Road
For locations outside these areas, contact Nemster to confirm availability.
Frequently Asked Questions
Is a roof a good place for Starlink Gen 3?
A roof can be suitable when it provides a clear view of the sky and a secure location for mounting. The best location depends on the property and surrounding obstructions.
Can Starlink Gen 3 be mounted on a roof?
Yes. A suitable mounting solution can be used for a roof installation, provided the mounting method is appropriate for the property.
Does Starlink Gen 3 need a clear view of the sky?
A suitable view of the sky is important for Starlink connectivity. Obstructions such as trees and buildings can affect the connection.
How much does Starlink Gen 3 roof installation cost in Kenya?
The cost depends on the roof, mounting requirements, cable length, location and any additional networking work required.
Can you extend WiFi after installing Starlink on the roof?
Yes. Additional WiFi access points, switches and Ethernet cabling can be installed to extend network coverage.
Can Starlink Gen 3 roof installation support CCTV?
Yes. Starlink can provide internet connectivity for compatible CCTV systems when the network is configured correctly.
Book Starlink Gen 3 Roof Installation
If you have a Starlink Gen 3 kit and need professional roof installation in Kenya, Nemster can help with mounting, cable routing, router setup, WiFi configuration and network extension.
Whether you are installing Starlink at a home, office, shop, farm or business, the installation can be planned around the property’s requirements.
Nemster – Starlink | WiFi | Networking | CCTV | Electrical Installation
Call or WhatsApp: 0714135799
SEO Keywords
Primary keyword: Starlink Gen 3 roof installation
Secondary keywords: Starlink Gen 3 roof installation Kenya, Starlink Gen 3 roof mounting, Starlink Gen 3 roof installer Kenya, Starlink roof installation Nairobi, Starlink Gen 3 mounting Kenya, Starlink Gen 3 dish mounting, Starlink Gen 3 installation Kenya, Starlink roof mount Kenya, Starlink Gen 3 installer Nairobi, Starlink satellite dish roof installation.
Conclusion
A properly planned Starlink Gen 3 roof installation can provide a practical location for the satellite dish where the roof offers a suitable view of the sky.
Nemster provides Starlink Gen 3 roof mounting, cable installation, router setup, WiFi configuration, WiFi extension and networking services in Kenya.
Need Starlink Gen 3 roof installation? Contact Nemster today on 0714135799.